English
 Spanish
 Russian
 French
 Japanese
 Korean
 Persian
Lead Time :2–7 days
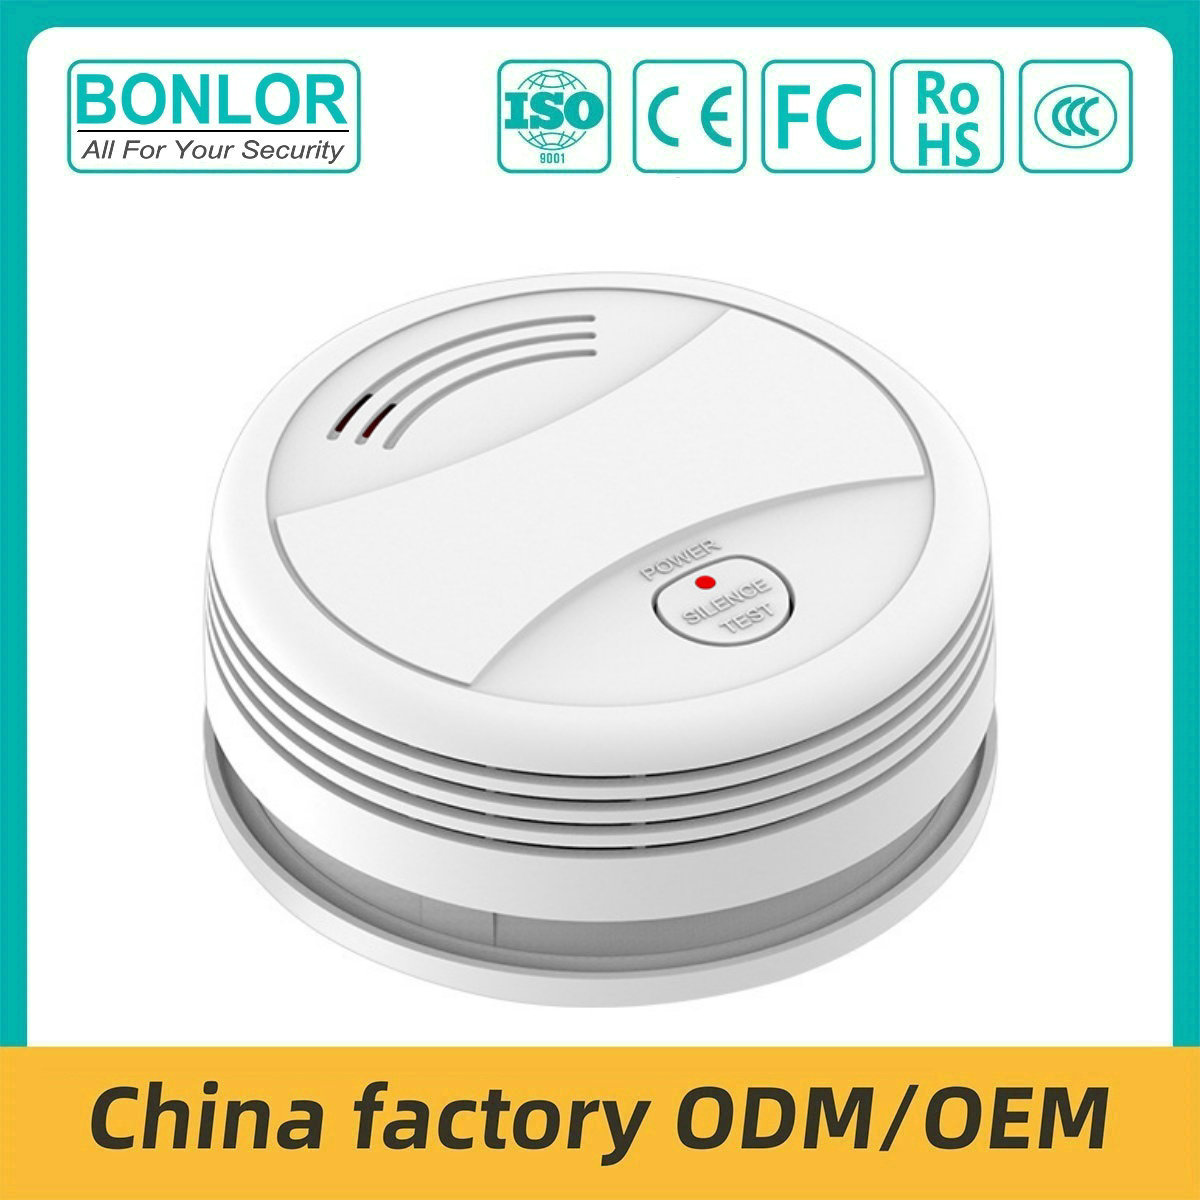
Description:
Silencing and testing
Silence: In the alarm state, press the "test" button to silence the buzzer, only the LED indicator flashes.
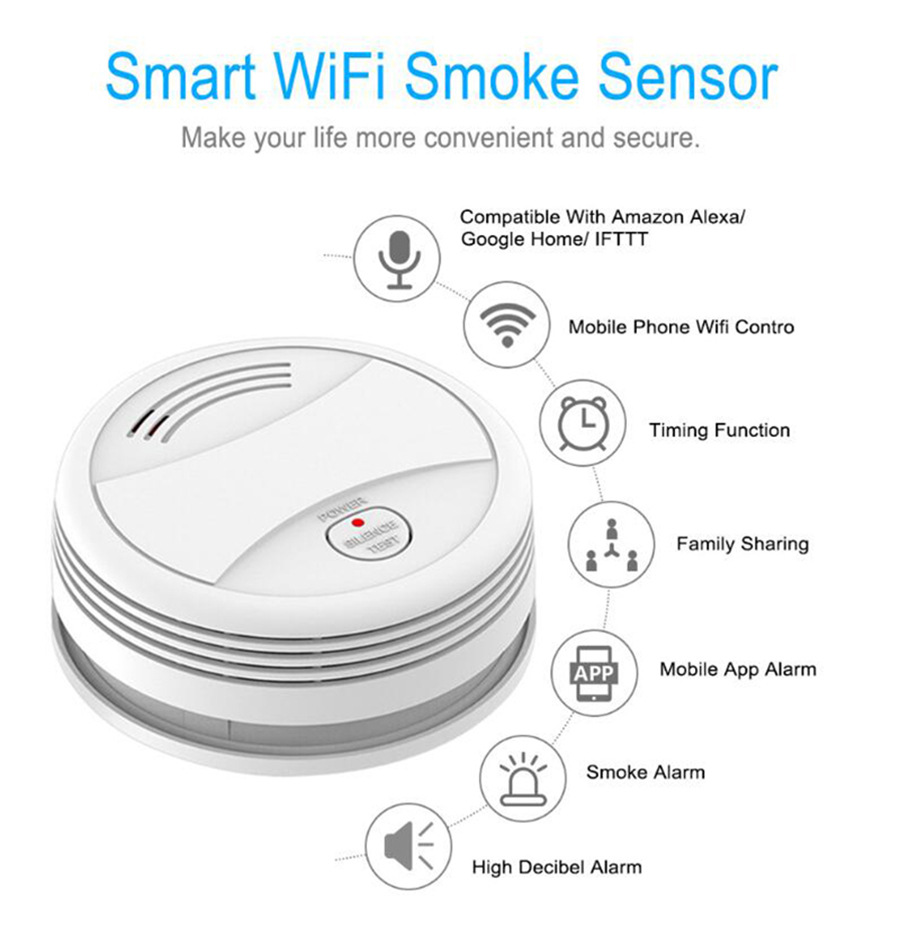
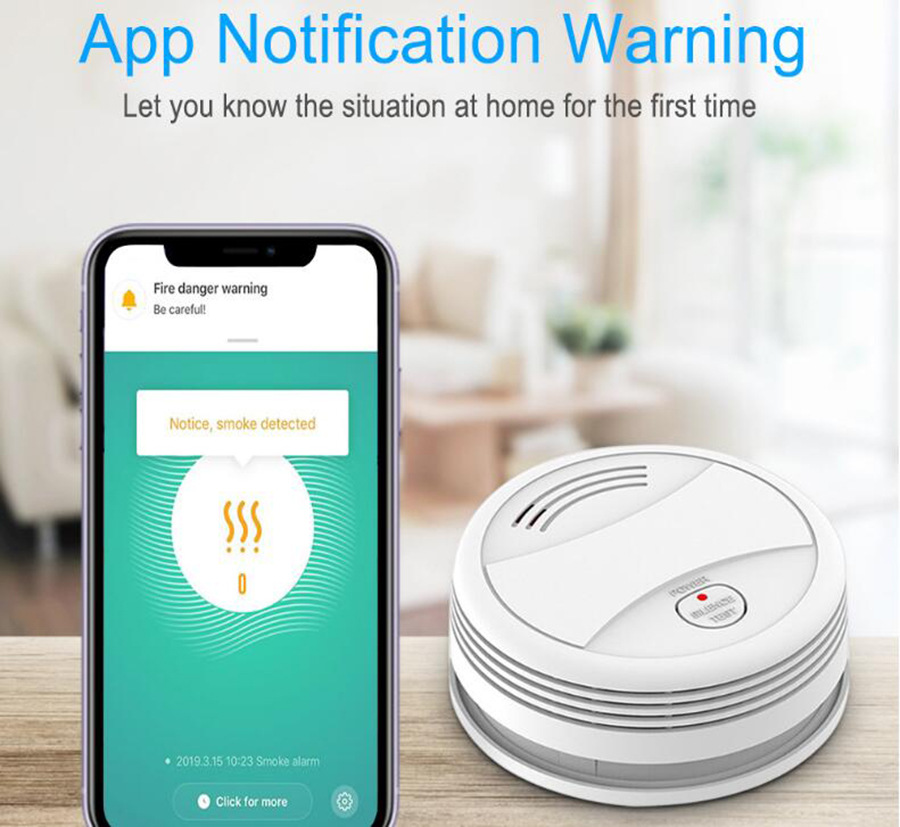
Test: In normal state, long press the "test" button for 2s to trigger the sound and light alarm, the alarm message is sent to the mobile APP.
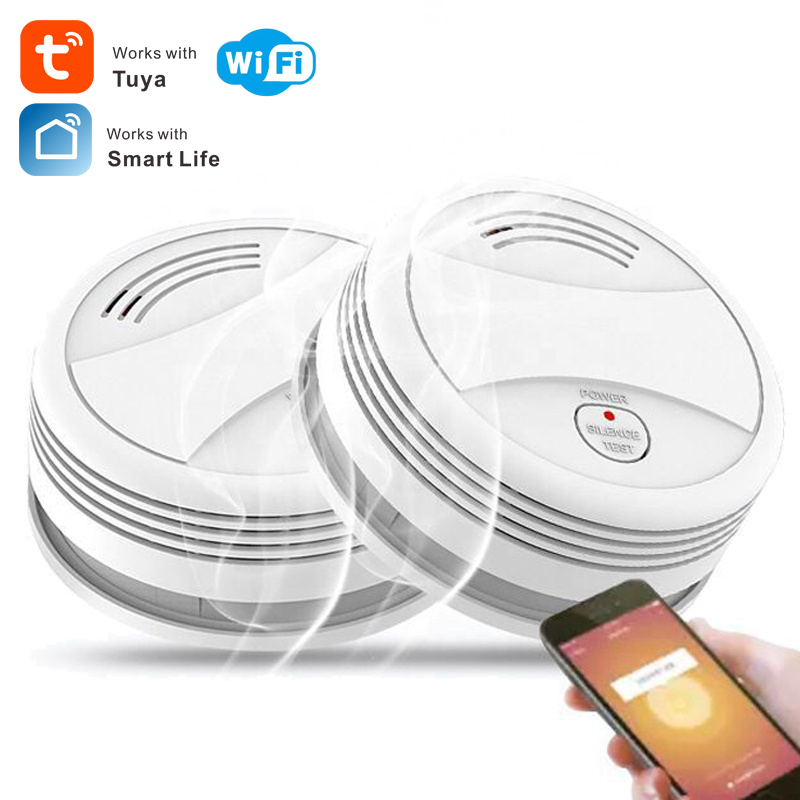
WiFi and network configuration
Install the tuya Smart app on your smartphone the first time you use the detector.
Make sure your smartphone is connected to WiFi.
A) Launch the app, click "Add Device" --- "Security Sensor" --- "Sensor (WiFi) '/" Smoke (WiFi) ".
B) Press and hold the "Test" button for 5s until the LED flashes with a short beep of "di" (press and hold the button within 20 seconds after charging the battery to enter WiFi setup mode).
C) Click "OK" in the APP --- enter the password for WiFi, click "OK", the detector enters setup mode which lasts for 60s max.
A LONG "di" beep with LED indicator on for 10s means the WiFi setup is complete. When the WiFi setup fails, the detector exits setup mode with a short 'Di Di' beep.
The WiFi configuration is based on the 3 steps above.
WiFi network status: When the LED indicator is on for 10s after charging the battery, it means the detector is successfully connected to WiFi.
Method of
A. Drill a hole in the ceiling using the hammer drill
B. Install the expansion tube on the ceiling
C. Fix the installation plate using the screw
D. Point the alarm device with the installation plate and connect them, turn clockwise until you hear the sound "kaca", it means to install it correctly.
Specifications:
Package Included:
Comment count: 0